
Gutter cleaning might not be the most glamorous home maintenance task, but it’s essential for protecting your home from water damage. A clean gutter system ensures that rainwater flows away from your roof and foundation, preventing costly repairs. If you’re new to gutter cleaning, this beginner-friendly guide will walk you through the process, step by step, with expert tips to ensure your success.
1. Why Gutter Cleaning is Essential
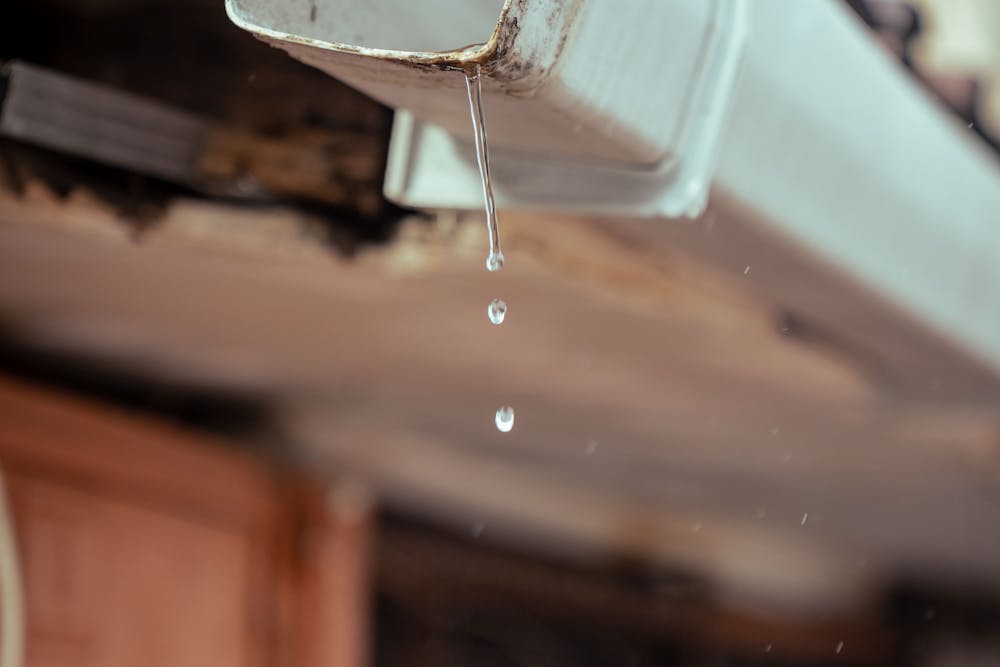
Clogged gutters can lead to a range of issues, including:
- Roof Leaks: Overflowing water can damage your roof and attic.
- Foundation Damage: Improper drainage can cause cracks and water pooling around your home.
- Pest Infestations: Debris-filled gutters are a haven for insects and rodents.
- Mold and Mildew: Stagnant water fosters mold growth, which can affect indoor air quality.
Expert Tip: Regular cleaning in spring and fall can save you money on major repairs.
2. Tools You’ll Need for DIY Gutter Cleaning
Having the right tools ensures safety and efficiency.
Basic Tools:
- Sturdy Ladder: Use a ladder stabilizer for added safety.
- Gloves: Protect your hands from sharp debris and bacteria.
- Gutter Scoop: Ideal for removing leaves and dirt.
- Bucket or Tarp: Collect debris as you work.
Optional Tools:
- Garden Hose with Spray Nozzle: Flush out remaining debris and check the water flow.
- Leaf Blower with Gutter Attachment: Speeds up cleaning for dry debris.
- Pressure Washer: This is for a deep clean and tough dirt removal.
Expert Tip: Avoid using metal tools, as they can damage gutters. Opt for plastic scoops instead.
3. Step-by-Step Guide to Cleaning Gutters
Step 1: Ensure Safety First
- Place the ladder on a flat, stable surface.
- Use a spotter if possible or secure the ladder with stabilizers.
- Wear safety goggles to protect your eyes from debris.
Step 2: Remove Large Debris
- Start at the downspout and work your way along the gutter.
- Use a scoop or your gloved hands to remove leaves, twigs, and dirt.
- Place debris in a bucket or on a tarp to prevent mess.
Step 3: Flush the Gutters
- Use a garden hose to wash out smaller particles and ensure water flows freely.
- Test the downspouts by running water through them. If clogged, use a plumber’s snake to clear the blockage.
Step 4: Inspect for Damage
- Look for cracks, rust, or sagging sections.
- Ensure all gutter brackets are secure and properly aligned.
Step 5: Perform Necessary Repairs
- Seal small leaks with gutter sealant.
- Replace any damaged sections or brackets.
Expert Tip: Work in manageable sections to avoid getting overwhelmed, and take breaks to prevent fatigue.
4. Preventing Future Clogs
After cleaning your gutters, take steps to minimize debris buildup.
Install Gutter Guards:
Gutter guards reduce the amount of debris that enters your gutters, making future cleanings easier.
Trim Overhanging Branches:
Cut back nearby trees to prevent leaves and twigs from falling into your gutters.
Inspect Regularly:
Even with preventive measures, check your gutters every few months for any clogs or damage.
Expert Tip: Schedule a deep clean twice a year—once in spring to remove winter debris and once in fall to clear autumn leaves.
5. When to Call the Professionals
While DIY cleaning is effective for minor maintenance, some situations require professional help.
Signs You Need Professional Assistance:
- Persistent clogs that won’t clear.
- Sagging or damaged gutters that need replacement.
- Homes with multiple stories or hard-to-reach gutters.
Why Choose FixSmart GTA?
Our team specializes in safe, efficient gutter cleaning and repairs in Toronto and the GTA. We handle everything from routine maintenance to major repairs, ensuring your home stays protected year-round.
DIY Cleaning vs. Professional Services
| Task | DIY | Professional |
|---|---|---|
| Basic debris removal | ✔️ Ideal for single-story homes | ✔️ Efficient for multi-story homes |
| Checking for damage | ✔️ Homeowners can identify minor issues | ✔️ Experts can spot hidden problems |
| Repairs and replacements | ❌ Requires professional expertise | ✔️ Done with long-lasting solutions |